Why does anybody need a fire piston? While in the wilderness, warmth is a sure thing to focus on. At times, it can get hard to build a fire because the tinder is wet or there is no pack of matches around. For such occasions, there is a solution that can come in handy and warm you up— a fire piston. It is a metal cylinder tube and it uses principles of compression to make a fire in any conditions. Read about this kind of tool in our article.
Control of fire ensured the progress of humankind and helped overcome the severities of the outside world. Unfortunately, being feather-bedded by modern conveniences and technologies, we forget our origin day by day. This misconception is vital, and the price is too high: our ignorance of such primitive things as fire control can result in extinction. In the event when an unfavorable scenario arrives, electricity will most likely be of no avail. Of all survival talents, making fire is an essential surviving skill.
In emergencies, fire equals life. It helps to cook food and boil water, disinfect metals and fluids, maintain warmness. You can also use this to reach help, benefit from flames at night, and use smoke during the daytime. Many research studies show that controlled fire keeps our minds calmer and delivers the energy of hope in stalemate situations.
Today, manufacturers offer hundreds of solutions that a skilled prepper might use in the wilderness and emergencies, including various survival matches and Ferro rods and lighters. You can find them online or at a local hardware store. Some techniques also allow preppers to make fire using plain sticks, but having something as a reserve is a huge advantage in emergencies.
This review will discuss the DIY fire starting products, specifically fire pistons, construction, operating peculiarities, recommended materials, and other benefits our ancestors were deprived of years ago. Friends, make sure you read the article till the very end to learn everything about fire pistons, their purposes, and usage methods.
A Fire Piston: What Is It and How Does It Work?

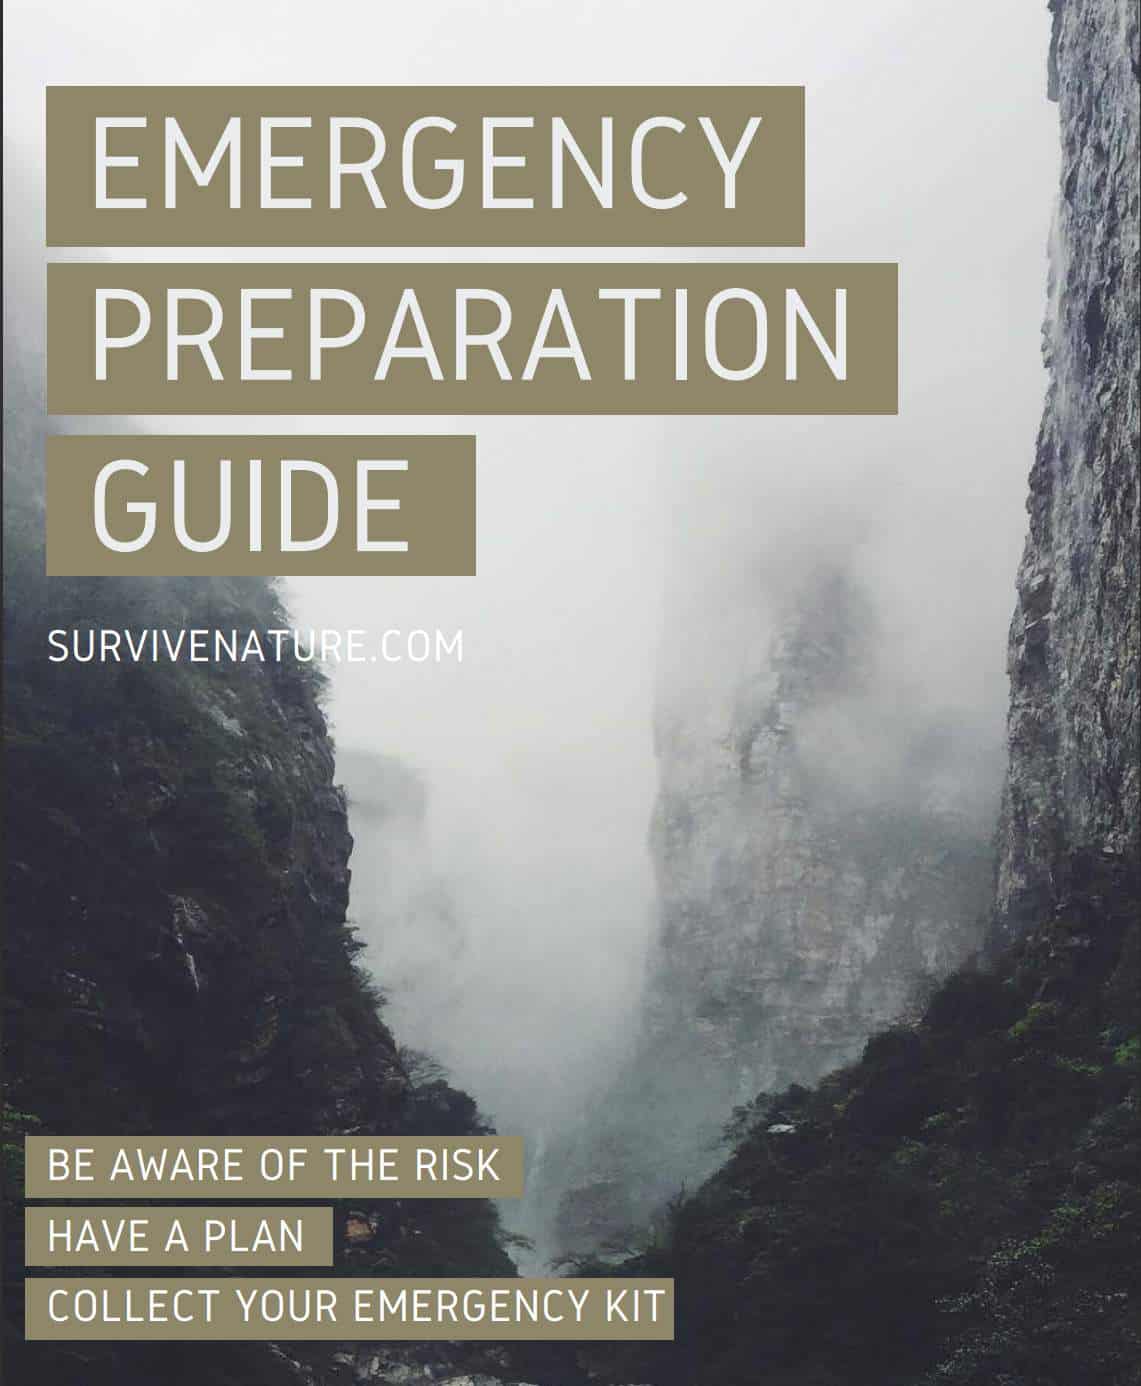
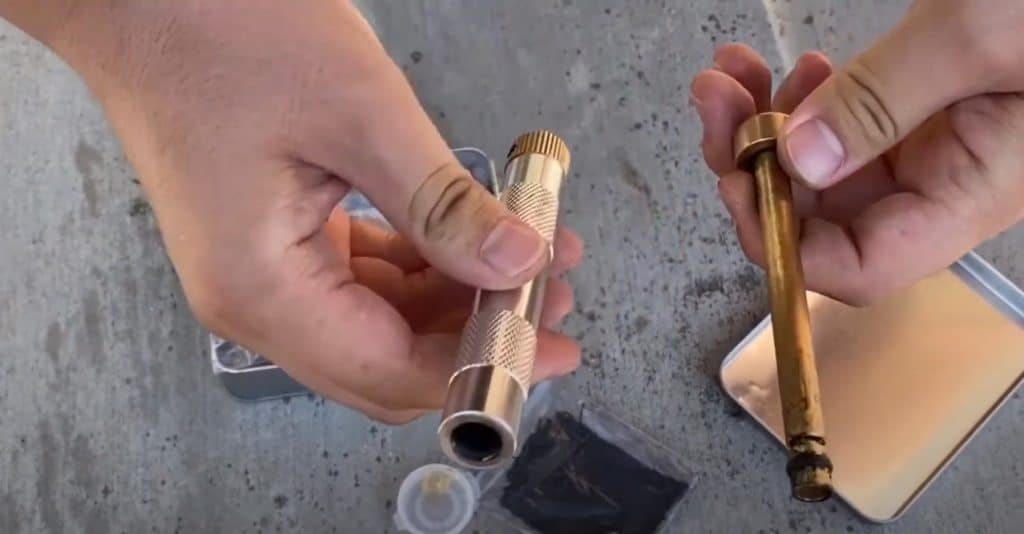
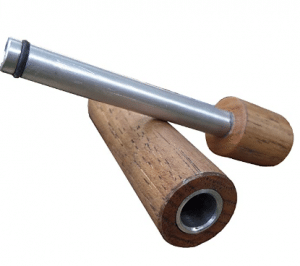
Any fire piston consists of a special piston rod and a cylinder. The design material of these parts can vary, relying on the creator’s choice. However, metal and plastic make the most sense because the material is so smooth and tight. It is essential to avoid air leakage while pushing the plunger— this condition powers the fire piston mechanism.
The fire piston rod and the cylinder are of different diameter and length measures. The end of the piston-cylinder is sealed and air-proof. Its inner material is smooth and up to several inches long.
On the other hand, the rod is tighter in diameter and at least an inch longer than the cylinder. Its construction contains a hollow for the tinder. On one end, the rod features an o-ring seal, and the other end has a handle.
Fire Piston Mechanism
Learn more details from this video guide.
Fire Piston Appliance and Instructions
The concept’s gist lies in fast pushing and immediately pulling a fire piston rod within the tube. It is essential to provide air after the attack, as the process of burning demands gas. Once the available oxygen inside the cylinder is devoured, the flames you managed to create will perish. To avoid such an unfavorable situation, you should master to push-and-pull the construction quickly.
Step 1
To ensure success, first and foremost, provide wood fuel for the future fire. Many inexperienced preppers concentrate on a fire piston’s mechanics, forgetting to prepare everything needed for the fire itself. In fact, the ember you create through these tools won’t last long. Deliver it as soon as possible to your fire cradle to lit the wood. Use thin sticks to feather the flames, and once they grow, use bigger logs.
Step 2
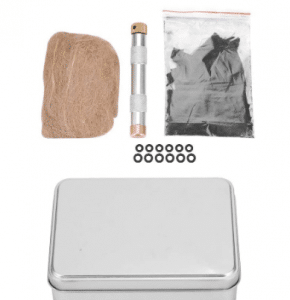
Load the fire piston tube: you should insert a little piece of tinder into the piston cylinder’s front end opposite the handle end. It is vital to create a free flow of air and avoid packing the tinder tightly. Otherwise, the ember you create within the tube will fade out before you are able to use it.
Fire Piston Tinder Materials
As a skilled survivalist, you should know how to prepare a usable piston tinder. As a matter of fact, not every fabric is suitable to become a nice fuel engine for a firestarter piston. For example, cotton has a high ignite potential, but this material fades rapidly and doesn’t give embers. However, if you use cotton char cloth or denim char cloth, you will get perfect tinders for your piston. This state ensures immediate ignition and burns longer. An extended burning period is inherent as you need a reserve to get the ember out of the tube and start a fire. After you push-and-pull the rod, you’ll get higher chances to create ember and flames.
One can prepare char cloth oneself using a metal box. All you need to do is provide limited oxygen and enough ventilation simultaneously. Learn how to make char cloth in this video tutorial.
Step 3
Insert the piston rod into the tube but avoid pushing it too deep. You should ensure the piston rod is well fixed and doesn’t fall out. Place your piston construction on the hard surface and prepare to push-and-pull the piston rod rapidly. Now you are ready to proceed to the action! Once you have prepared embers, carefully arrange them in your firewood cradle and cherish the flames.
Hopefully, you’ve made it! It’s time for a bigger piece of wood and a more generous fire.
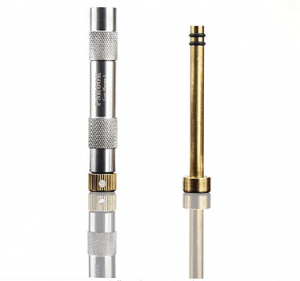
To understand how fire piston products work, watch this slow-motion video.
Luckily, the cylinder is translucent, and you will be able to witness the gist of the process: how the rod strikes the piston face causing inflammation.
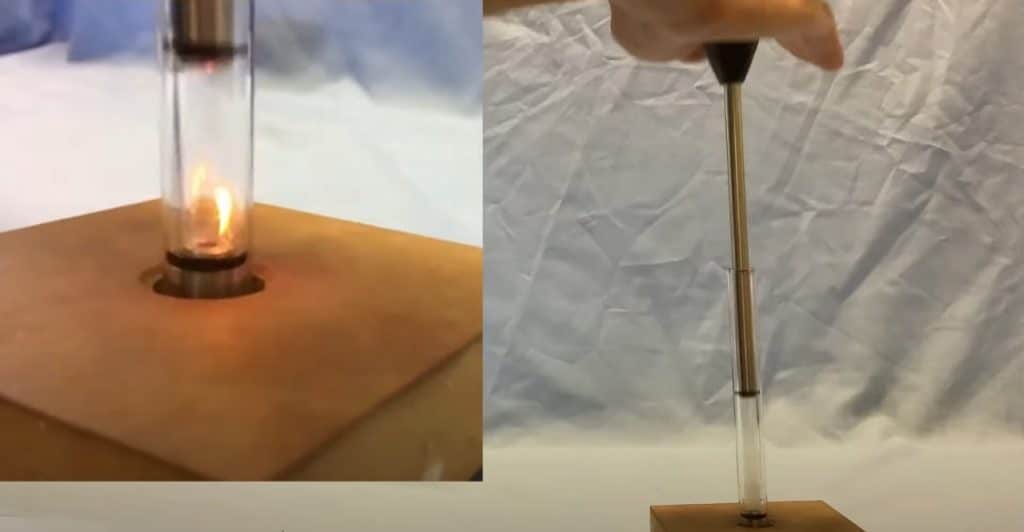
DIY Fire Piston
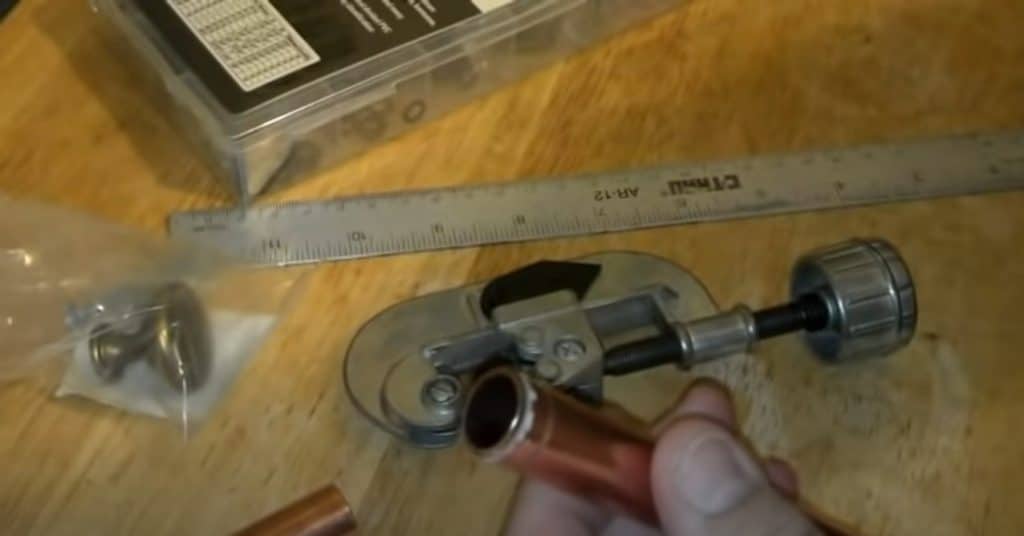
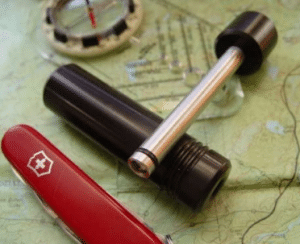
Should you decide to construct a firestarter piston yourself, have patience, as the process demands a generous amount of time. However, the creation will not put one to torture once they understand the chief principle. Eventually, creating a DIY ignition piston is not about the money — it’s about the mesmerizing feeling of being able to do it with your own hands. Prepare the needed elements like a rubber o-ring, a piece of metal, copper tube, bamboo, ivory, or durable plastic. Copper tubing is advisable but might be complicated to get, but you can utilize plumbing pieces. For rods, one can find some suitable shelf parts.
Learn how to construct a DIY acrylic piston in this five-minute video tutorial and spend no more than one USD.
Five Outstanding Ready-to-Use Fire Piston Options
Fire Starter Piston
PSKOOK Metal Firestarter Piston
Dioche Metal Fire Piston
Wilderness Solutions Fire Piston
Hickory CampfirePiston
The Bottom Line
FAQs
How does a fire piston work?
A fire piston works similar to a diesel engine. It uses air compression to produce ignition — the pressure and temperature increase, resulting in combustion when you push the piston. The char cloth tinder attached at one end of the piston delivers ember that you can use to make a fire. If it seems a bit intimidating, watch the video guides we provide in our article.
How do you make a fire piston?
It is easier to buy a fire piston, as the construction process demands much time and effort. However, any process of creation is full of positive energy. You need to find the proper material to complete the assembly. This could be a copper tube, bamboo, a piece of acrylic tube, a rubber o-ring, a knife to make an incision. For the cylinder, it is advisable to use copper tubing still. You can find this material at a building supplies market. To learn how to make a fire piston, find a video tutorial in the section of this article dedicated to DIY firestarter products.
Who invented the fire piston?
The invention of fire pistons correlates with Southeast Asian peoples who used these firestarters hundreds of years ago. It happened long before the Christ era and is registered earlier to colonization Madagascar in 100-500 AD.
How do you make a wildfire piston?
Following the ancestors, you can try to construct a wildfire piston cylinder out of bamboo, wood, horn, ivory, animal bone, a copper tube, or a copper pipe. The most complicated job is making an incision to fix the o-ring. The principle remains the same. To learn more, watch the tutorial video which you find in our article under the DIY heading or find other related youtube video guides.