Introduction
To the point
Dry canning is one of those self-reliance tips that our grandparents used to do during the hard times and are now gaining popularity again because of the internet. The reason why this method of food storage is becoming more and more popular is simple, it is very cheap, especially in comparison to dry food from the shop, and lasts a very long time; some researchers indicate that the shelf life of dry food can be up to 30 years. And because emergencies as floods or shortage of electricity in the US are happening more frequently, it would be a good idea to have some food stored on the shelf in your basement because it is always better to be prepared. Moreover, dry canning is good for saving money because you can buy a lot of food in advance when the price is right, and dry, canned food does not take a freezer space!
What is dry canning?
- white rice
- brown rice
- pasta
- cereals
- dry beans
- pinto beans
- corn
- couscous
- powdered milk
- dried beans
- rolled oats
- brown sugar
- and even pancakes!
Basically, there are several main methods of dry canning, such as jar sealers, oven canning, and canning with oxygen absorbers. We will look at these types of dry canning more precisely a little bit later. But what is important to know about all of them is that each method aims to remove oxygen from the food because oxygen is the main spoiler of any food.
What equipment do I need?
1. Jar sealers
Now, when we passed the dry canning 101, we can speak more seriously about each canning method. And I would prefer to start from the easiest one, which is removing oxygen using jar sealers. This method is considered the safest one because while using mason jars sealers, you do not need to contact dangerous chemicals or high temperatures. You have to buy a special mason jar attachment that seals a jar lead and creates a vacuum seal that removes air out of the jar.
This dry canning method has numerous advantages as well as disadvantages. The pros of the jar sealers include the fact that it is very safe and cheap, while the cons are that the quality of vacuum sealing can be sometimes questionable. The sealers themselves are not always very reliable. But in general, it is a good starting point for people who are just starting to preserve their food.
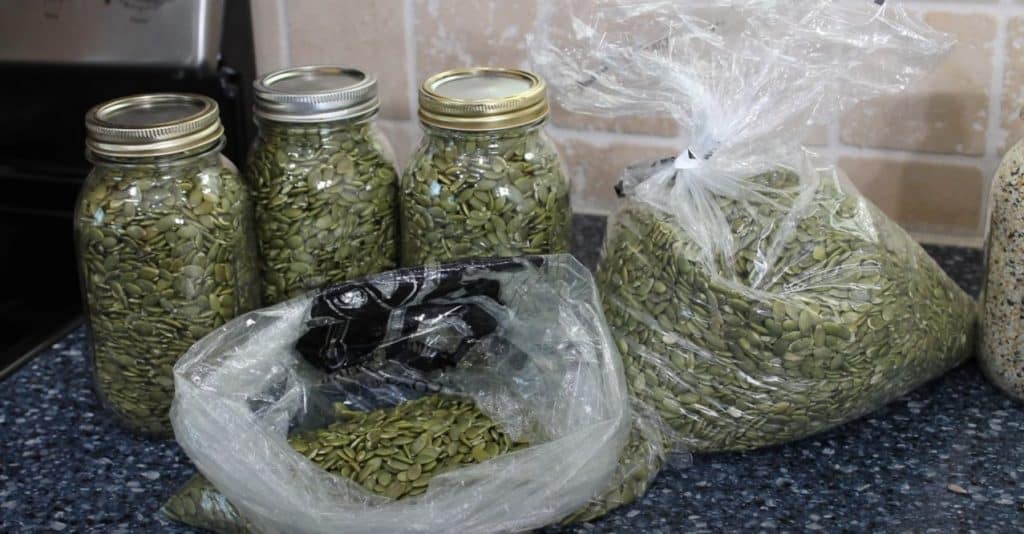
2. Oxygen absorbers for dry canning
The second method of preserving foods that I want to discuss requires oxygen absorbers. Before describing the method itself, it would be better to make clear what, in fact, oxygen absorbers are. So, an oxygen absorber is a special chemical compound made from several ingredients. Still, the main one is iron powder oxide which is great in absorbing oxygen because molecules of oxygen easily stick to molecules of iron in airtight containers.
This powder is not eatable but safe, so you can surely use it for canning. Moreover, it reduces the amount of oxygen inside the jar to less than 0.1 percent, which is a very great result that is considered to be safe and, for example, significantly reduces the chances of botulism poisoning. Furthermore, the chemical reaction between oxygen and iron powder does not create any harmful or dangerous gases, which help to preserve the original taste and smell of the food.
Tips to use
To use this method, you must have a few items. First is an oxygen absorber described above, foods that you can dry, and canning jars with lids and rings. Start the process by washing mason jars or mylar bags, and note that you must boil and dry them very meticulously because if the moisture content would be high, your food can be easily spoiled. Afterward, put the food in the jar and place the absorber on top of it; seal the jar with rings and jar lids.
Usually, it takes absorbers around half of an hour to finish the work and remove oxygen and moisture from the jar. When the job is finally done and lids are sealed, you will hear a special sound. Then put the jars into food-grade plastic buckets and place them in a cool dark place for long-term storage.
In addition, it is worth mentioning that this method can be used not only with jars but with bigger items like 5 gallons food grade buckets which can contain large amounts of dry, canned food.
However, it is important to remember that once you have opened a big jar, you have to either eat all the food or relocate dried foods to smaller containers or jars and seal them.
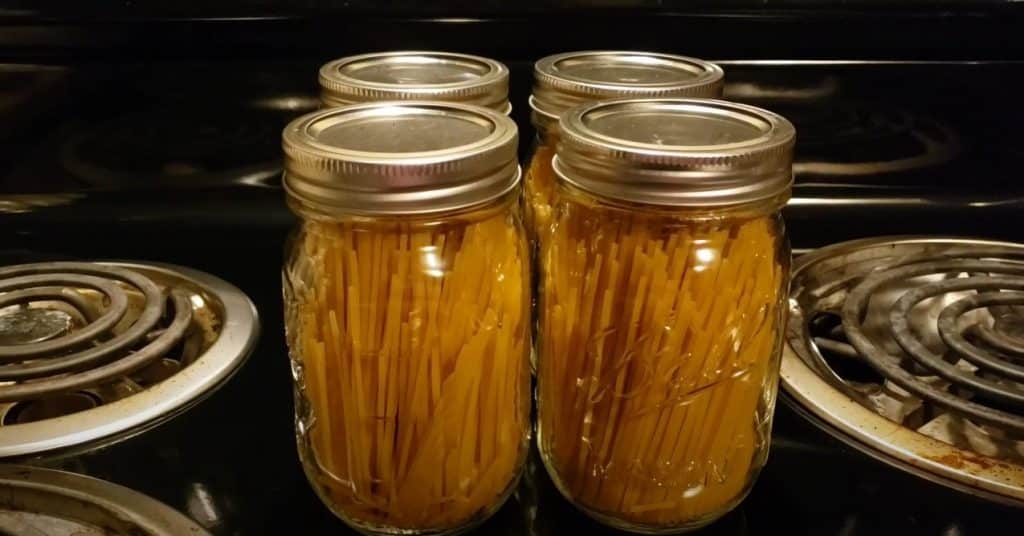
3. Oven canning
Start off the process.
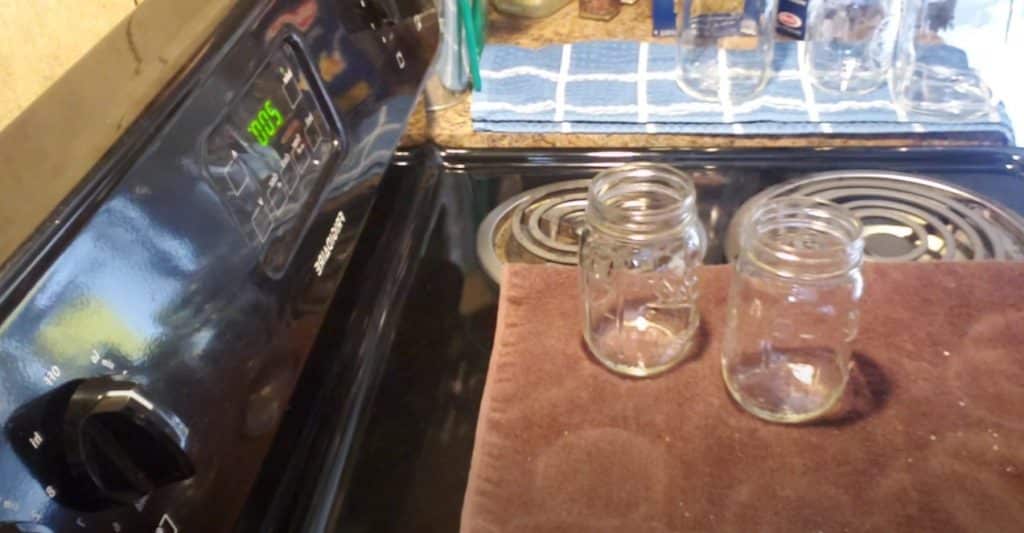
Start the process of dry oven canning by washing your glass jars, and you can use jars of different sizes, from a pint to half-gallon jars. If your jars seem to be old, it is better to buy a new one because a used Mason jar would crack under the high temperature with a higher possibility.
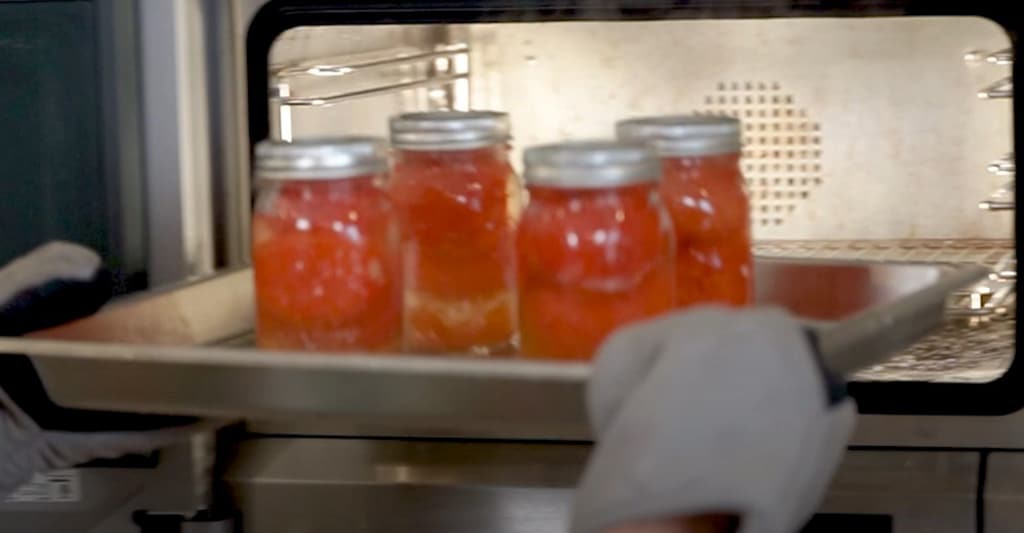
After your jars are prepared, set the oven temperature for 200 degrees (F), fill the jars with foods, but leave about half of an inch of free space in every jar, put the filled jars on a baking pan (remember that not all foods can withstand high temperatures, so be careful). When the oven reaches 200 degrees, proceed to place your jars inside and set the timer for an hour. While waiting for the dry oven canning process to be over, you can sterilize your leads by boiling them in the water for 10 minutes. Remember that once leads are boiled, you have to dry them very carefully so not even one drop of water would stay in and a sterile environment is preserved.
When the hour has passed, carefully remove the jars from the oven and wipe the wimp of each jar, then put the lead as tightly as you can. Do not forget to use gloves while doing that because the jars are hot, and you can easily heart yourself.
After the jars are closed, you should again put jars in the oven for 30 minutes. When 30 minutes are over, remove the canning jars and leave them to cool down. In a few minutes, you should hear a pop sound which indicates that the dry canning is over.
4. Foodsaver machine
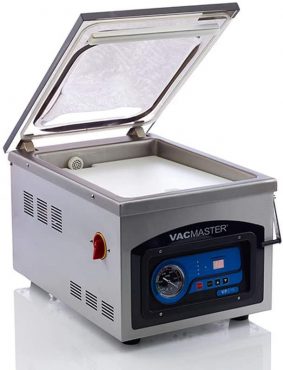
This method is extremely fast however has a few downsides; firstly, the food saver machine is quite expensive. Secondly, this method does not guarantee that the air will get to the dry foods, and it will stay fresh, so use it for only short-term storage.
Frequently asked questions (FAQ)
How long does dry canning last?
The dry, canned foods can last for a pretty long time regardless of the type of dry pack canning, so in this regard, oxygen absorbers work as well as oven canning. And talking about actual numbers, dried food after dry pack canning can last from one year up to 30 years.
Why is dry canning dangerous?
There are two main reasons why dry canning can be dangerous. Firstly, it is a process itself because you have to use chemicals or high temperatures. And the second reason is dry foods themselves because it can be dangerous if oxygen was not removed from the jar despite the dry heat environment.
Where to put dry, canned food?
There are plenty of different variants of jars and buckets for food preservation; however, for dry pack canning, you have to make your choice wisely. Because you have to be sure about the safety of dry goods. And obviously, glass jars are the best choice for food preservation because they are durable, can withstand long temperatures, and can be used many times.