Undoubtedly, many of us in 2023 are huge fans of eating pancakes or waffles with a punch of maple syrup and butter on the top for a perfect breakfast. We got used to buying pancake syrup monthly without even knowing its nutritional information and ingredients. Undoubtedly, a store-bought syrup cannot compare to natural homemade maple syrup, where each ingredient is picked by yourself and cooked with soul.
Making homemade maple syrup at home sounds embarrassing. However, there is nothing to be afraid of since all you need to do is to spend a day outside with a boiling pot of maple syrup. In this article, you will find a detailed recipe on how to make your own syrup without complications.

Maple Syrup – Summed Up
Note that what you boil in the pot is not what you fill the jars with. You need to fill 40 gallons with sap to obtain only 1 gallon of maple syrup. One tree is very unlikely to give the amount of sap to get a lot of syrup in the end.
Moreover, there is a lot to know about tapping the plants. Unfortunately, there is no possibility to wander to the forest and use any tree to get the sap. Except for the fact you should wait for a suitable time of the year, you must also consider the age and condition of the plant itself.
Finding the Tree
Let’s talk about choosing the right time for tapping. In Central America, maples are at their best in late February and through March. In North America, April can also be a fertile month. The main thing to pay attention to is the air temperature when the days are thawing and the nights are still freezing, so the perfect temperature for sap to run is about 40-degree.
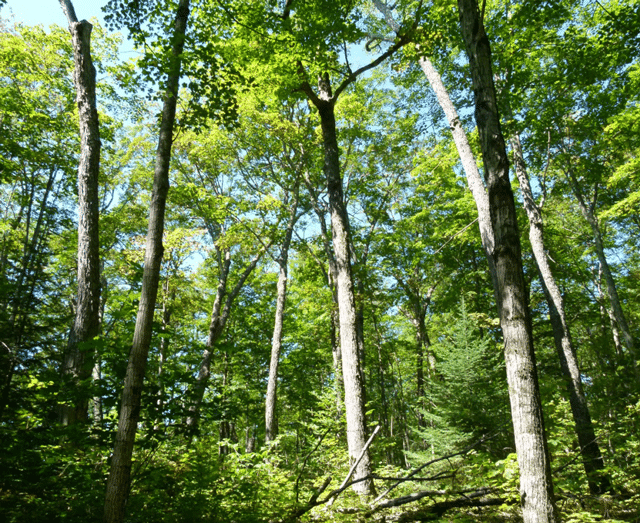
One more thing to consider is how to identify the tree itself by its shape, bark, and branches. For example, maples have a smoother bark up the stem and a ruder mossy basis. Maples are not very tall and usually are more into being wide with sprawling branches. The smaller branches tend to have a 90-degree angle to the bigger ones. You can also rely on the leaves that remained underneath the tree after a long winter.

Do not hesitate to bring a book or mobile phone with you to be able to recognize the needed plant. Moreover, there are other trees that give our liquid, so it is unlikely to be mistaken at this step.
Needed Equipment
To cook homemade maple syrup you will need some tools that are probably absent at your house (however, some of your friends and neighbors can obtain these things). So, here is the list of things you are likely to use:
- Taps – these are the essential tools you will need to extract maple sap. You have to insert the tap into a drilled hole in the trunk. You may find them in the tapping kits along with tap hoses and collection bags and containers.
- Drill – is also an essential tool that you use to make holes in the maples or other plants you want to tap.
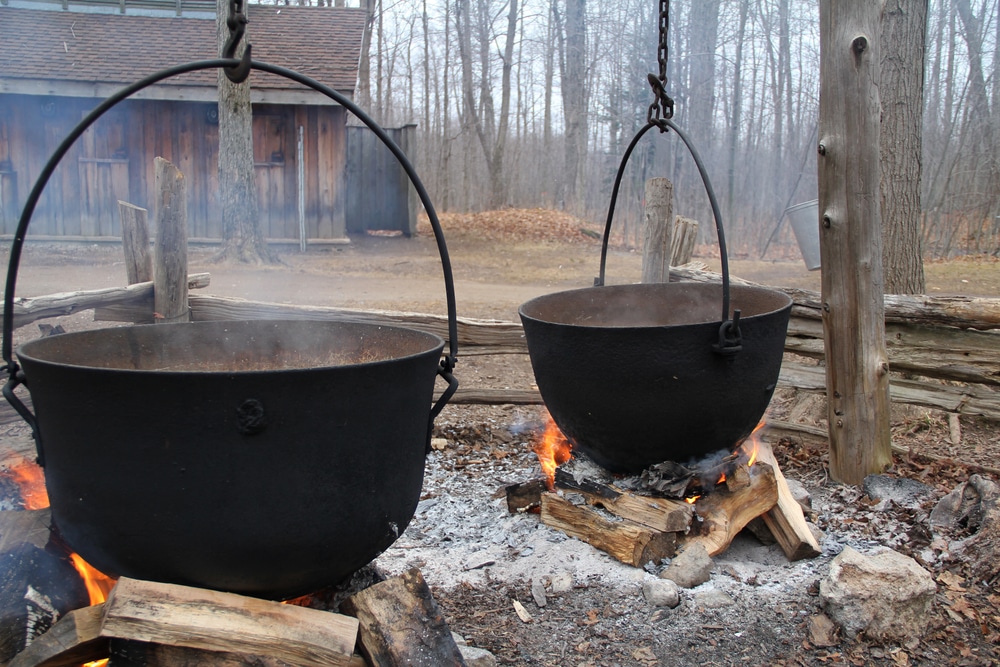
- Stockpot – it is the vessel in which the liquid will be boiled and simmer. A perfect choice is a 40-quarter one but you may choose any large volume. Later, you will also need a smaller pot to pour fresh maple syrups here.
- Fire grate – to place the pot above the fire and be able to reduce heat, you may use any type of fire grate. Also, think of acquiring a slotted scoop to remove the scum from the surface of the future maple syrup. Moreover, you will need a wooden spoon or stick to control and stir the mixture in order for it not to become too thick.
- Canning jars – undoubtedly, you need to store your homemade maple syrup somewhere, so prepare the vessels in advance. Be careful when you pour boiling hot syrup into a glass bottle.
- Food thermometer and white ladle – they are needed to estimate the temperature and color of the syrup, so you know when it is ready. You can also consider buying a refractometer to measure how sweet the liquid is.
As you can see, some tools can be frequently found in any household, while others are even hardly placed in a store. Nevertheless, if you buy all these things at once, you are equipped for many further tappings.
Maple Syrup Recipe
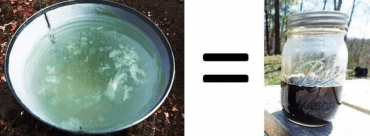
Now, we are ready to provide you with step-by-step instructions on how to make maple syrup. So, after you found and tapped a maple for enough servings, you should store maple juice to have some prep time for further steps. Leave the containers in a dark and cool place, especially if it is good to let the containers stay outside while it is still chilly.
Moreover, the cooking process is likely to take place outside, too. Do not forget that the sugar will evaporate from the juice as you heat it. So, it will cover all the surfaces that can be touched by warm steam, which means even the walls and floor will be in sticky sugar.
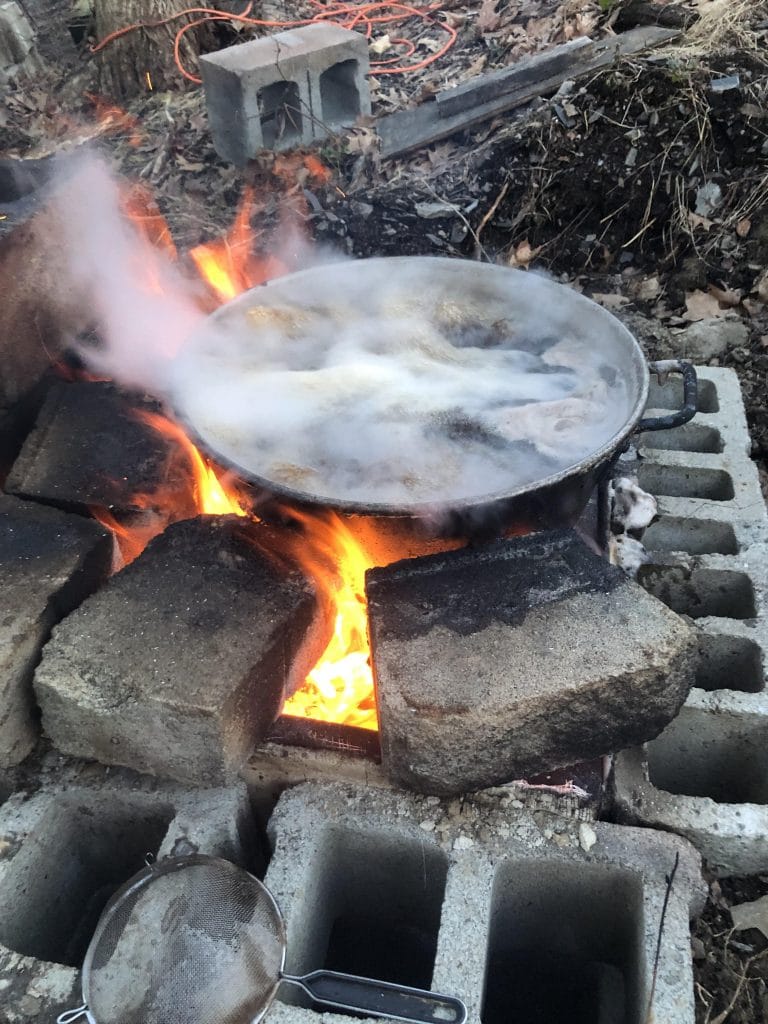
Therefore, prepare the pot and open fire! Pay attention that fire logs must be dry and in a needed amount as the fire must be constant to obtain a thicker syrup. But note that hot maple syrup is more dangerous than hot water as it can give a stronger burn. A useful tip is to choose the pot with a wider open surface so that the evaporation process will take less time.

Following our recipe, for a 40-quart pot, at first, let 3 gallons of juice simmer on medium-low heat and add another gallon only after the previous portion started boiling. As time goes by, you will notice a scum appearing on the surface of the syrup, so remove it with a slotted scoop. While stirring frequently, you lessen the amount of scum, reduce the cooking time, and bring the juice to pure maple syrup.
Now, it’s time to transfer your future maple syrup to a smaller pot, which is a final line. When there is almost no sugar left in the juice, its color turns brown and the temperature is constantly 212 degrees Fahrenheit. Also, the juice gets thick as heat decreases, so it is essential to look after the temperature in the pot. Nevertheless, the possible conditions of the liquid vary depending on many factors, including also the quality of the pot and the outside temperature.
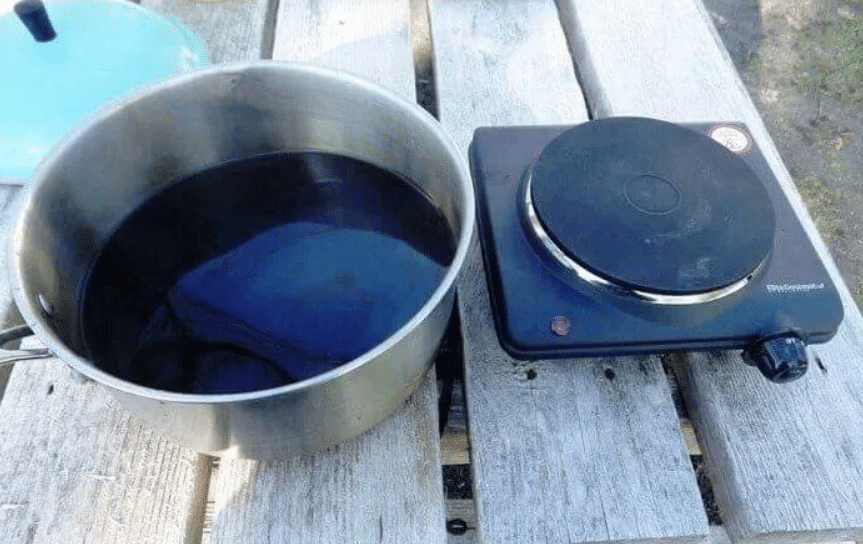
To move syrup to a pot, use a coffee filter (or cheesecloth) to avoid dirt and soot going into the final maple syrup. The next stage is again to simmer the juice until 219 Fahrenheit. This time, you should not use open fire since it is almost uncontrollable. You can also try how sweet and delicious the pre-made maple syrup already is at this step.
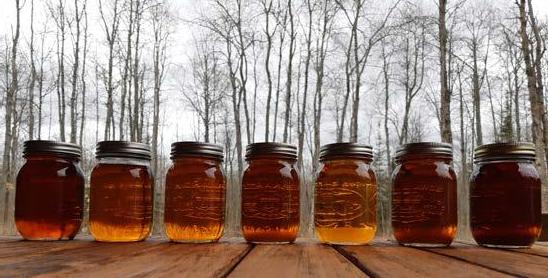
To store your homemade maple syrup, make use of the glass jars. After pouring the servings, fill a big pot with warm water and leave the jars in it for 10 minutes to make the maple syrup shelf-stable. Once you have opened a jar, keep it in the fridge, since non-store-bought maple syrup is not defended by preservatives.
Congratulations! You have made your first homemade maple syrup with no added sugar or additions. Now you know one of the true recipes and are able to serve any breakfast dessert with your own-made maple syrup!
Nutrition Facts and Conclusion
You can use homemade maple syrup with many kinds of food, including such breakfast dishes as waffles, pancakes, french toast, or such main courses as beef or chicken. However, using it as a daily diet is not a good idea. Even a pure maple syrup has lots of glucose which is not the best ingredient in daily recipes.
Homemade maple syrup has no protein and fats, yet there are 17 grams of carbs and 70 calories in 1000 grams of the product. Having 4 grams of protein, honey is a great substitute for maple syrup in this sense.
Pure maple syrup has a unique taste that cannot be substituted by any other recipe. However, you can experiment with maple flavor and add some vanilla extract to the pot on the second stage of simmering. However, it is still better to use homemade maple syrup instead of high fructose corn syrup or store-bought with added sugar maple syrup, especially when you can make maple syrup by yourself!